2022-07-28

For quality control of CNC machined parts, most machine shops use a Coordinate Measuring Machine (CMM) or optical measuring machine like Image measuring machine (IMM). A CMM/IMM checks that the geometry and dimensions of a finished part match the original design, ensuring that the customer does not receive defective parts. It identifies even the most marginal errors and allows the machinist to rework a faulty part.
For a machine shop owner, however, the CMM/IMM is may not enough for a perfect solution. While this kind of inspection provides security for the customer, it does not guarantee a high level productivity for the machinist. Why? Because identifying errors after machining means you’re already too late to recover costs. When a part has to be reworked because the CMM/IMM machine returns a negative result, the value of that part diminishes by half. Twice the expected time is going into it, as well as twice the material.
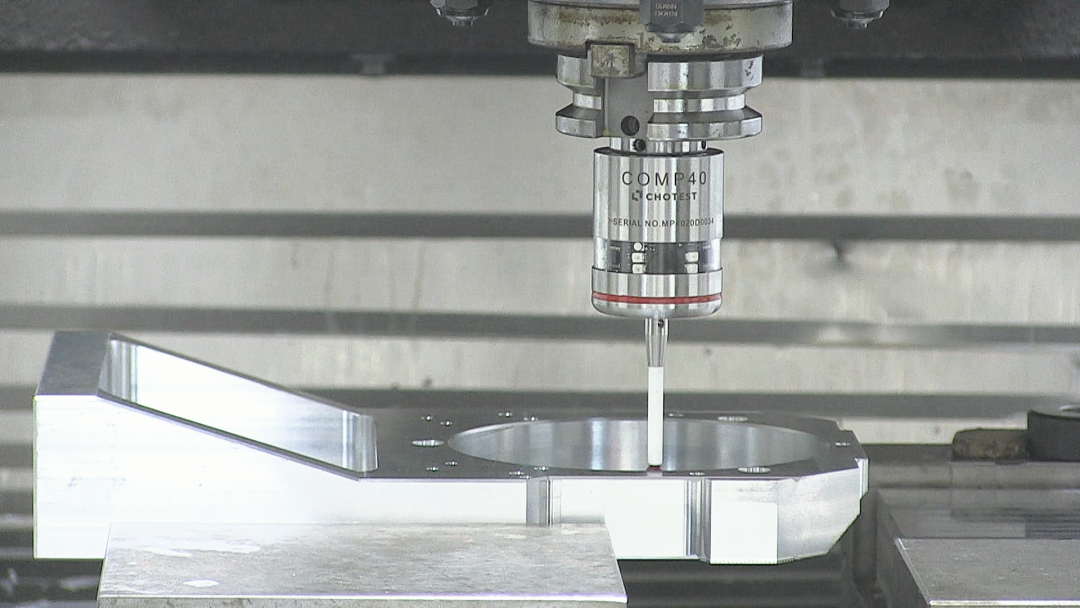
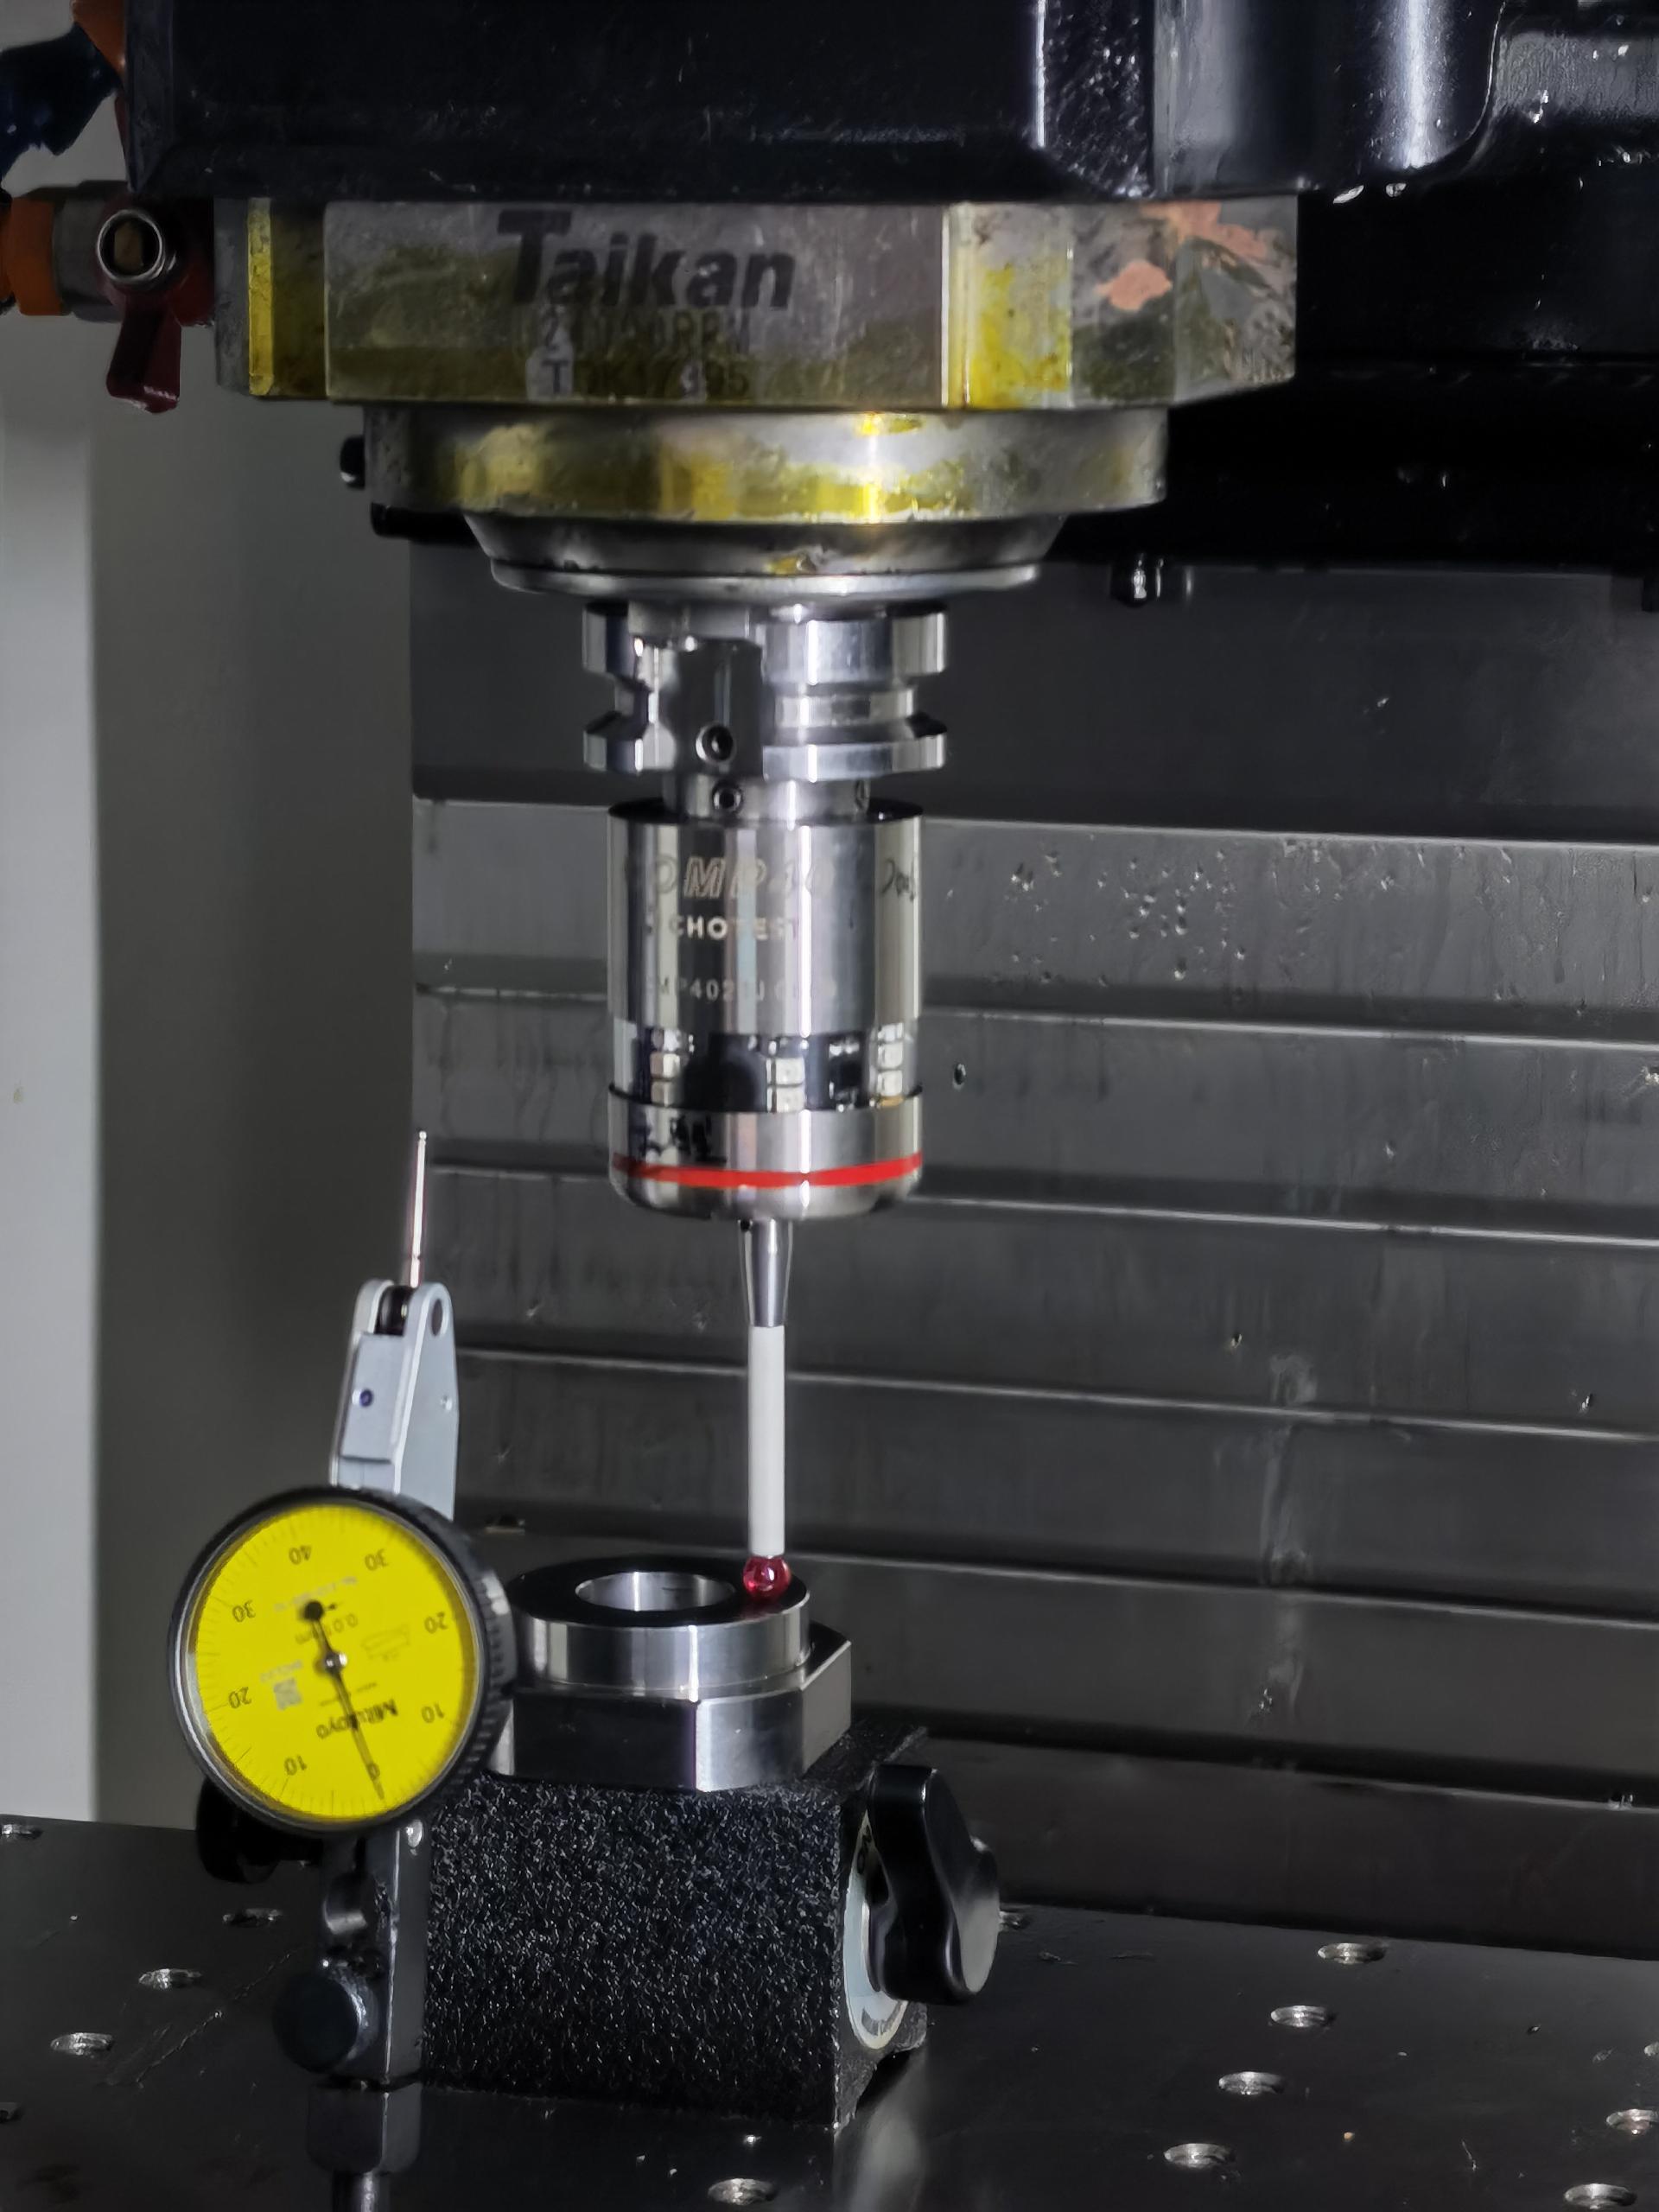
An alternative solution is on-machine inspection with a machine tool probing system. Machine tool probing systems are measuring devices fitted to the CNC machine itself, used to set up parts and measure dimensions during and immediately after the machining process.
Easing CMM/IMM Bottleneck
In a busy shop, any given CNC machine will likely be assigned a new setup as soon as one set of parts are removed from the machine. If the CMM/IMM rejects some parts later on, the machinist will have to wait for a machine to become available, or worse, interrupt another job and then set up the machine all over again. Rejected workpieces can slow down production, producing a domino effect that delays many jobs.
Also, dependence on a CMM/IMM may result in long queues, as every job in the shop requires inspection from the same machine or group of machines. Incorporating inspection into the CNC machines themselves can ease the CMM/IMM bottleneck, because the inspection burden can be spread across multiple systems or, in some cases, handled wholly by the CNC machine.

Improved Efficiency
Using a CMM/IMM is usually necessary for quality control, especially during precision machining, because it checks that workpieces meet geometric and dimensional specifications. But on-machine inspection does not have to replace the CMM/IMM; instead, it can work alone or in tandem with the CMM/IMM to make inspection, and the entire product cycle, more efficient.
A machine tool probing system, mounted on the machine spindle or turret, provides numerous benefits to a shop. The system can be used to identify and set up workpieces — a process that can take 10 minutes manually, but only seconds with a probe — and can measure features during the machining cycle and immediately after, when workpieces are still on the worktable.
A probing system can also carry out tasks like monitoring the surface condition of the workpiece and initiating automatic offset correction. Additionally, many probing routines do not disrupt the machining process, so inspection can be carried out without disruption.
Probes are useful because they catch significant errors early, which immediately reduces wastage and, if a CMM/IMM is being used afterwards, reduces the chances of the CMM/IMM rejecting a part. If a CMM/IMM is being used, probes also allow quality control staff to reduce their sampling rate. For example, they can inspect one in 50 parts on the CMM/IMM instead of one in 20, knowing that most possible errors would have been caught and corrected by the on-machine probe. Introducing on-machine inspection can therefore reduce total inspection time while easing the CMM/IMM bottleneck, allowing parts to be shipped faster and increasing shop productivity.

Increase Accuracy For Post-Machining
On-machine inspection can be beneficial in virtually all CNC machining situations, dramatically reducing the chances of having to scrap failed parts. However, probe systems are especially valuable when precision machining features on cast or forged parts.
Machining parts from a workpiece of extruded metal is one thing, but machining on forged or cast parts is quite another. Those metalworking processes tend to produce minor variations between units, so it is crucial that the CNC machine can calibrate properly with each slightly different part.
The on-machine inspection system ensures accuracy when machining as a secondary process, even when there are geometric discrepancies between parts. It is especially useful for parts made with pressure die casting and investment casting.

Increased Accuracy For Molds
On-machine inspection is a particularly valuable asset in the production of molds for injection molding and other molding processes. Probes increase accuracy when machining cores and cavities, leading to better moldings and a lowered reliance on post-processing of plastic parts, where imperfections caused by low-quality molds must be fixed.
Mold making can benefit from an on-machine probe before, during and after the CNC machining of mold components. Before machining, a probe can locate the workpiece, in addition to determining part orientation and rotation. And before the part leaves the CNC machine, the probe can perform mold-specific tasks such as checking and verifying electrode condition. Each of these functions increases the accuracy of mold production and consequently the quality of moldings.
Use of on-machine inspection can therefore improve the quality, repeatability and accuracy of machined molds.
https://www.youtube.com/watch?v=gG7uaEj6hF8