2022-02-14

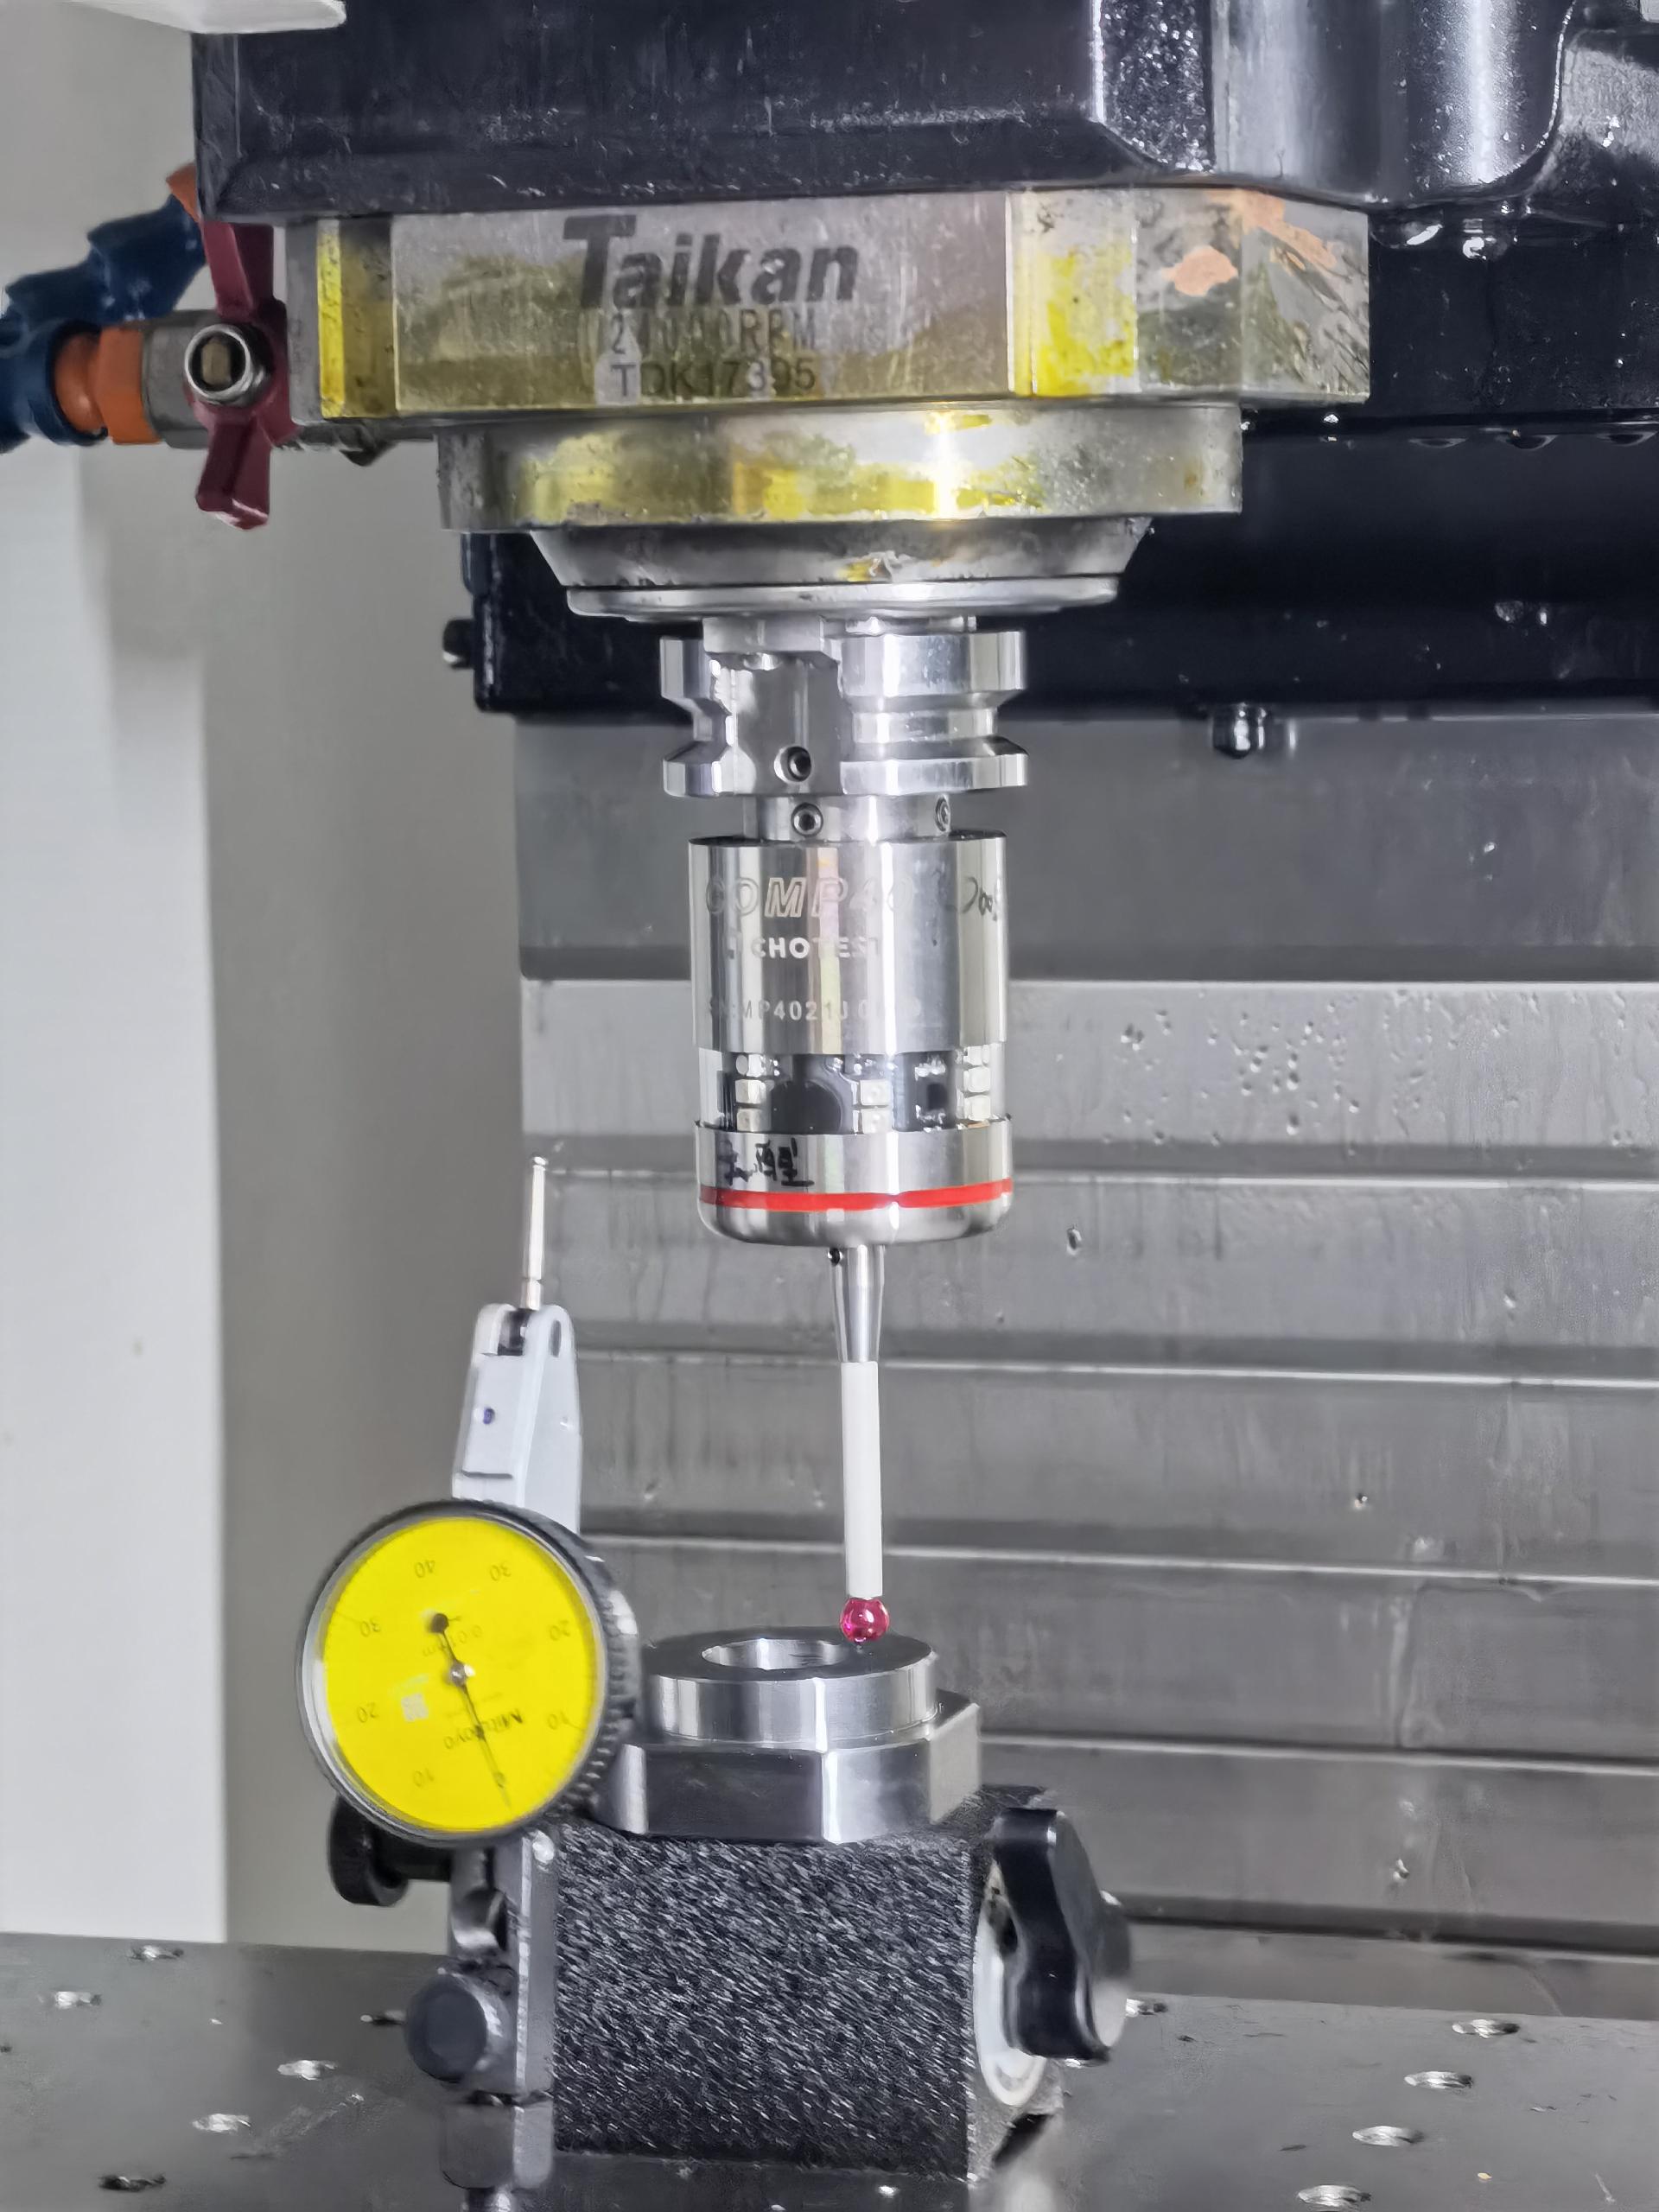
On-machine probing is particularly critical for some precision manufacture industries such as auto Engines and Transmissions. The shops of this kind of manufacturers may processes families of engine cylinder heads, and the parts can look similar, but involve very different dimensions.
For this reason, usually the first tool they run is a probe that confirms a part is loaded, identifies it and conveys that information to the machine’s control, which in turn selects and runs the correct program for that particular part – virtually eliminating any risk of error.
This is just one example of the benefits of probing. Beyond ensuring a part is accurately loaded in a fixture and identifying it, shops use probing for in-process gaging to determine remaining stock or to check for thermal growth. Most importantly, however, a probe should be the first tool you load because it can make your machining processes secure and more robust – and thus help eliminate scrap.

Most shops have realized the benefits and usefulness of on-machine probing. On average, about 80% of shops use probes on milling and turning centers and multi-tasking machines. Probably one of the most common applications of a probe is for gage passes on a turning machine to check parts prior to running a finish pass. Doing so not only ensures part accuracy, but also that the finishing tool always cuts the same amount of stock, which contributes to longer tool life, allows for tighter tolerances and reduces process variations.
In essence, on-machine probing allows shops to use their machine tool with inspection features similar to a Coordinate Measuring Machine (CMM). In fact, these two types of methods are similar in terms of how they move and position, although machine tools are much more robust. CMMs, on the other hand, must be in a controlled environment and rely on electronic compensation for their volumetric workspaces.
In many instances, machine tools can make the same measurements as a CMM, and they often can do so at less of an expense. But conversely, a shop must consider whether or not it’s worth consuming machine tool time with inspections as opposed to cutting metal. Conversely, a fair number of shops have more machine tools than CMM’s thereby making inspection time a bottle neck in production.
Probing earns its keep when machining very expensive or extremely large parts. Shops can check them in a clamped state, prior to removing them from the machine tool. In these instances, the goal is to definitely not scrap the part – and checking parts prior to removing them from a machine tool can reduce number of part handlings and makes for better throughput.
https://www.youtube.com/watch?v=TwwqFfrrABo
Shops avoid having to transfer parts from the machine tool to the CMM and wait for first article measurement results, which can use up hours of production time while the machine tool sits idle. This is not a good use of time unless the shop has a palletized machining system which would allow it to run other parts while it waited for the CMM results.
With the growing use of on-machine probing, OEMs continue to advance and improve probe technology itself, along with probing software. With today’s scanning probes, for instance, shops can “sweep” a surface ,or bore, much faster than with older-style touch probes and collect huge amounts of data while doing so. This makes for more accurate measuring because the probe contacts many more points of the workpiece. For some shops, on-machine scanning probes offer an alternative to purchasing a CMM or having to send parts out for inspection.
In addition to advancements in probing technology, currently available probing software packages give shops the ability to extract data from the on-machine probing process. Today’s software not only simplifies the process through canned routines, but can provide quality reports that resemble those generated with a CMM. Prior to this software, shops struggled to simply read probe data, let alone extract it for report purposes.
Although on-machine probing provides many benefits, there is one critical piece of advice to keep in mind. If you are going to use your machine tool as a CMM, you must ensure that the machine is calibrated. Plan to maintain the required metrology and have the expertise within your facility to perform such calibrations in house.
