2022-01-20

With the global market demanding higher quality products—and adherence to ISO 9000/QS-9000 and other standards—moving measurement to the shop floor is the next logical step in the evolution from traditional post-production measurement to real-time inspection and measurement. A successful transition to in-line/near-line inspection and measurement requires planning and execution of a well-thought-out process that includes the following steps.
1. Examine current inspection methods. Take a close look at how parts inspection and measurement is currently being accomplished at your facility—including the steps involved in the process, the staff involved and any frequently encountered issues or challenges.
2. Determine available space. Taking into consideration the flow of components to the measurement equipment, measure the physical space that will be needed for the equipment that will be installed. If space is limited, consider opting for a custom-engineered solution that integrates directly into your line, or even mounted on the machine tool itself.
3. Examine the shop floor. Consider environmental factors like ambient temperature changes, protection from debris and excessive vibration. Because temperature variation is one of the most significant sources of gaging error, choosing a highly environment resistant tool like Image Measuring Machine, with a wide temperature accuracy guarantee is an effective way to minimize loss and ensure accuracy as temperatures change.
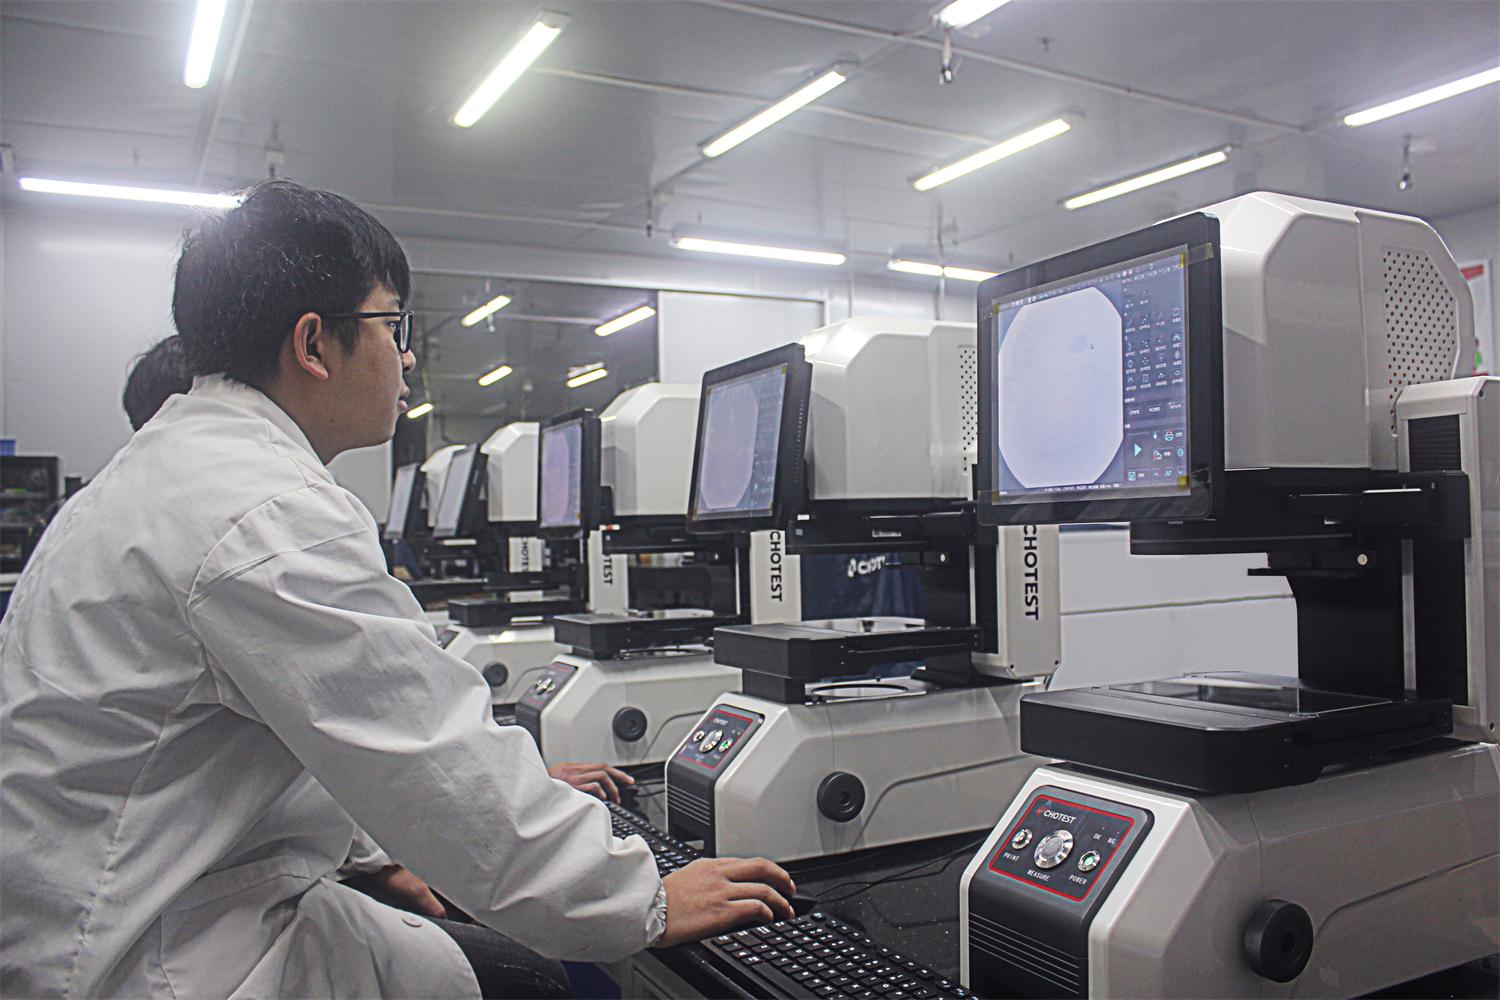
As it’s non-touch inspection by Image measuring machine, it would have less touch damage to the workpieces compared to the traditional touch inspection.

4. Determine the need for training. If you are moving the inspection and measurement process from a lab staffed by specialists, you may need to provide training for the individuals who will be responsible for using the Image measuring machine on the shop floor.
As the non-touch optical measuring is developed for decades, today’s image measuring machine is kind of one-key measuring. Easy-to-operate would also be a obvious advantage of IMM compare to traditional measuring machines. It would also help the factory save a lot of training cost.
5. Set up new processes for monitoring and maintaining the measuring system. Track use of the equipment carefully to determine whether it is meeting expectations for cycle time and reduced inspection time.
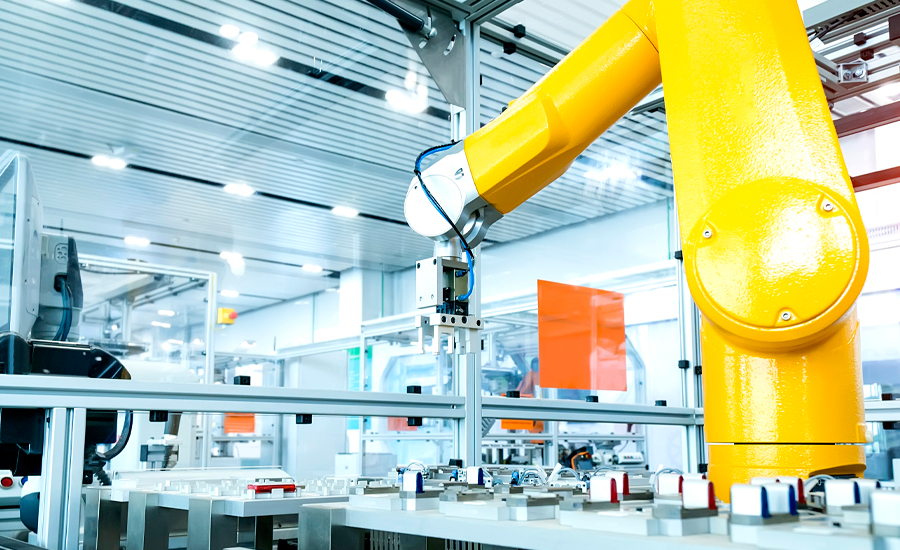
6. Explore your system’s smart manufacturing capabilities. It may be possible to fully automate the process of identifying errors, so machine tools will automatically adjust based on inspection outcomes.
