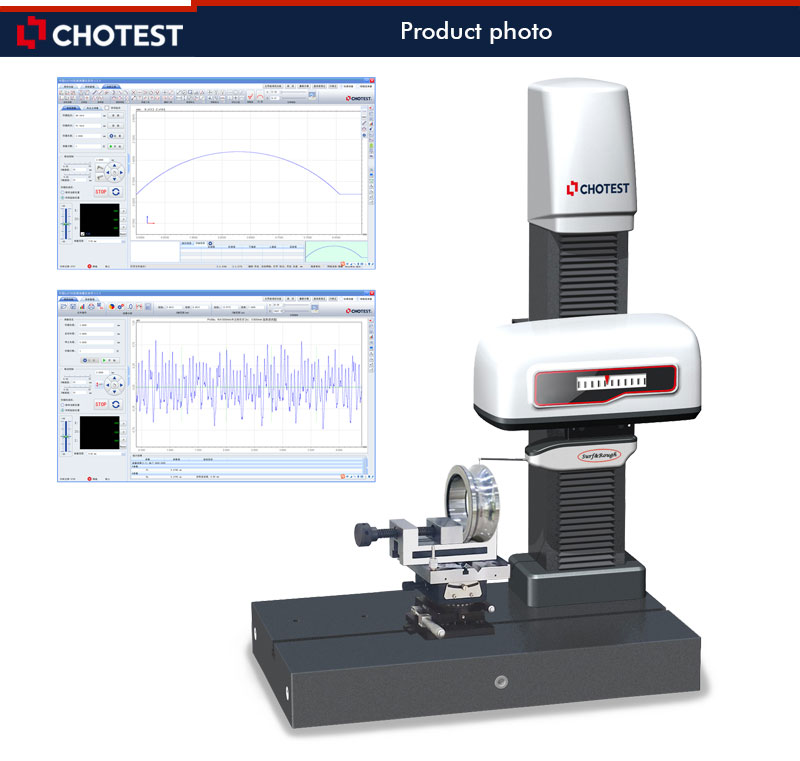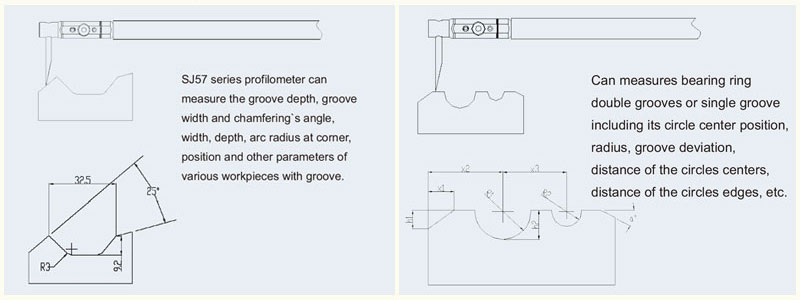
| Model No. | SJ5730-100 | ||
|
Profile Measurement |
Measuring Range | X | 0~100mm |
| Z | 0~300mm | ||
| Z1 | ±6mm(Optional: ±12mm) | ||
| Resolution | 0.001um | ||
| Accuracy | Z1 *1 | ≤±(0.5+0.03 H)μm(H,mm) | |
| Pt *2 | Pt≤0.2μm | ||
| Standard Ball *3 | ≤±1μm(R≤10mm) ; ≤±(0.17+R/12)μm(10﹤R≤200mm) | ||
| Angle *4 | ≤±1′ | ||
|
Moving Speed |
X | 0~20mm/s | |
| Z | 0~20mm/s | ||
| Scanning Speed | 0.05~5mm/s | ||
| X Straightness *5 | ≤0.2μm/100mm | ||
| Measuring Force | 0.5mN,0.75mN,1mN,2mN,3mN(Adjustable) | ||
|
Roughness Measurement |
Ra Masurement Range | Ra0.012μm~Ra12.5μm | |
| Accuracy * 6 |
Ra0.012μm ~ Ra3 . 2 μm: ≤±(3nm+2.0%A),A(Ra)μm Ra3.201μm ~ Ra12.5μm : ≤±(3nm+3.5%A),A(Ra)μm |
||
| Repeatability (1δ) *7 | 1δ≤1nm | ||
| Measurement Residual *8 | Rq≤3nm | ||
| Roughness Parameters |
R Roughness: Rp,Rv,Rz,Rc,Rt,Ra,Rq,Rsk,Rku,RSm,RPc,Rdq,Rdc,Rmr,Rmax,Rpm, tp,Htp,Pc,Rda,Ry,Sm,S,Rpc,RzJ; Key Roughness: Rk,Rpk,Rvk,Rpkx,Rvkx,Mr1,Mr2,A1,A2,Vo; Profile: Pa,Pq,Pt,Pz,Pp,Pv,PSm,Psk,Pku,Pdq,Pdc,Pc,PPc,Pmr,Rad,PzJ,Pmax; Waviness of Profile: Wa,Wq,Wt,Wz,Wp,Wv,WSm,Wsk,Wku,Wdq,Wdc,Wmr,Wpc,Wc; Motif: R,AR,W,AW,Rx,Wx,Wte; Standards: GB/T 3505-2009,ISO 4287:1997,ISO13565-2:1996,ASME B46.1-2002, DIN EN ISO 4287:2010,JIS B 0601:2013,JIS B 601-1994,JIS B 0601-1982,ISO 1302:2002 |
||
| Aspheric Masurement Parameters |
Micro profile parameters: Pt, Pa, Fig; Inclination parameters: Smx , Smn ; Horizontal axis angle parameter: Tilt; Distance parameters between the optical axis and the contour: Xp , Xv , Xt ; Root mean square roughness parameter: RMS; Slope parameters: Slpe mx , Slpemx (x), Slperms; Vertex radius error parameter: Radius Err |
||
| Filter | Gaussian filter, 2RC filter, zero phase filter | ||
| Sampling Length | 0.008, 0.08, 0.25, 0.8, 2.5, 8.0 or 25mm Selectable | ||
| Evaluation Length | Auto calculation | ||
| Size(L×W×H) | 600×350×890(mm) | ||
| Weight | 110kg | ||
|
*1 The accuracy is based on the measurement standard gauge block. *2 The accuracy is based on the Pt test of standard ball smaller than diameter 25mm. *3 The accuracy is based on the verifcation of the ф 50mm standard ball with the arc exceeds 90 degrees. *4 The accuracy is based on the measurement of the angle of polygonal prism. *5 The accuracy is based on the measurement of optical flat. *6 The accuracy is based on the measurement of standard roughness block. *7 The repeatability is based on the measurement of 0,1-0.2μm square wave roughness block and standard step height block. *8 The accuracy is is based on the measurement of 1 nm level roughness block and optical flat. |
|||


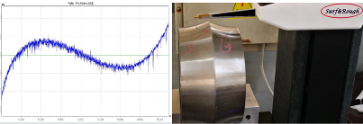
Scanning curve of Profile
Standard configuration:
2. Calibration gauge for profile 3. Measuring arm L85-ZMY15 4. Measuring arm L85-RMY15 5. Jaw vice 6. Object table 7. Portable joystick 8. Measuring software 9. Desktop computer and 24” monitor 10. Aluminium alloy suitcase for accessories 11. User manual 12. Product certification and Warranty card
